


Electric Fireplace Fix
I fixed our fireplace, maybe yours has the same problem.
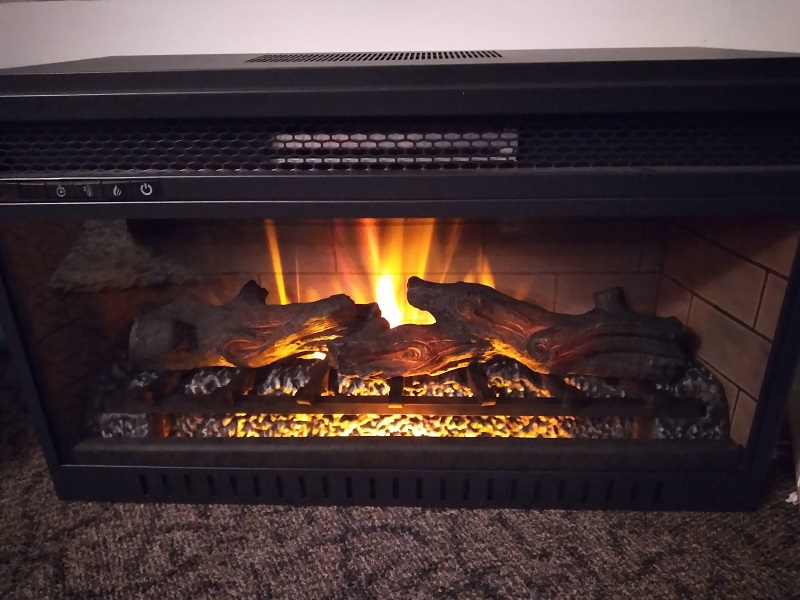
Rather than just throwing out our broken fireplace I thought it was worth taking a quick look at to see if I could fix it. As it turns out, I was able to find the problem, and fix it. I am sure there are several models of these fireplaces out there. This one came from Home Depot and is model WH100-30I2D-R. It’s called the Home Decorators Addition Collection which also leads me to believe there more models this fix should work on.
So before taking apart which is pretty much self explanatory, I have to mention that you need to make sure everything is unplugged before taking apart and to take pictures along the way of disassembly. That way, if you should need info on how to reassemble, you have it. For the most part there are only a few connections but better to be safe than sorry.
The error code EE was displayed which they tell you to check the thermistor which is the temp sensor you will have to disconnect when removing the cover. If you have a multimeter you can check to see if you are getting resistance. Usually they are in the 10K range but your model might be different. If it is reading an open or a dead short then you have found the problem, but in my case that wasn’t it. Mine was easier to see.
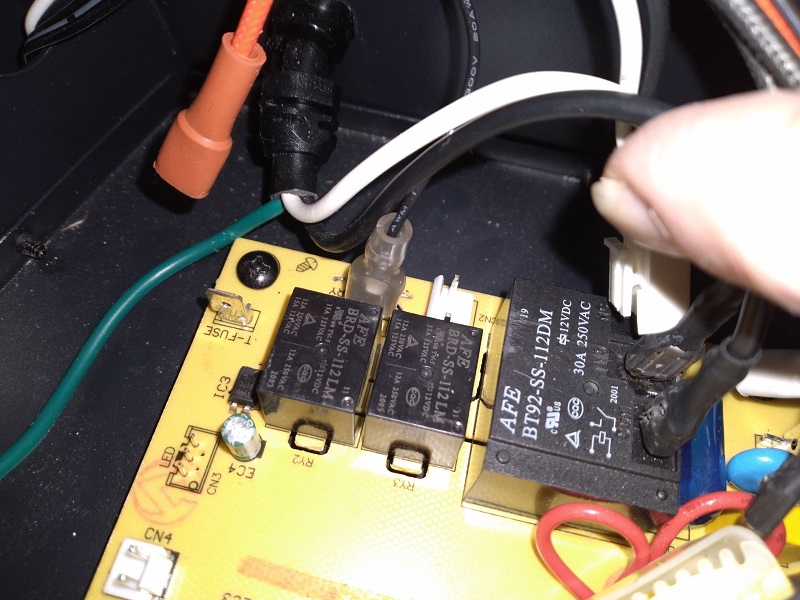
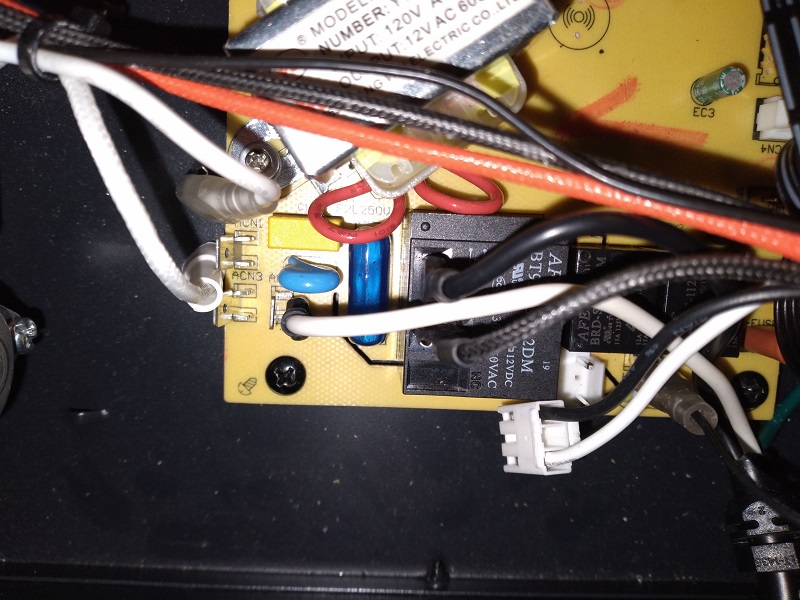
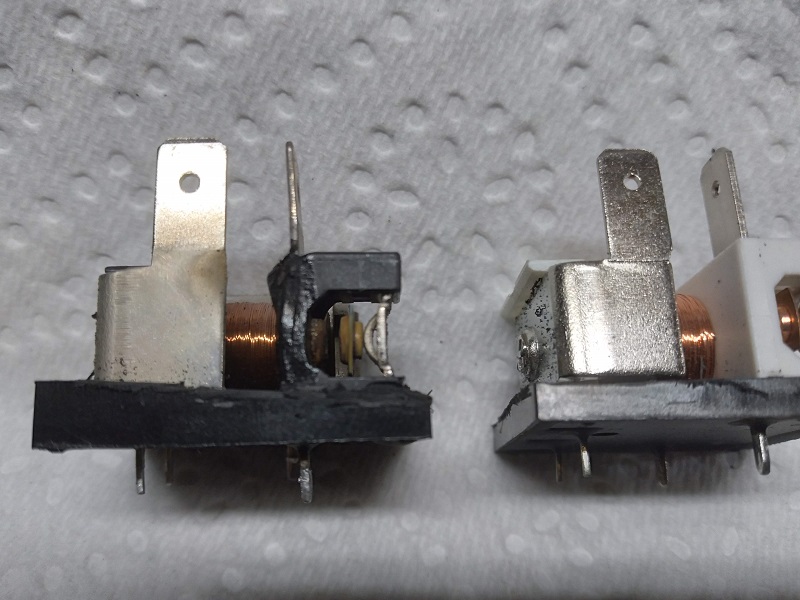
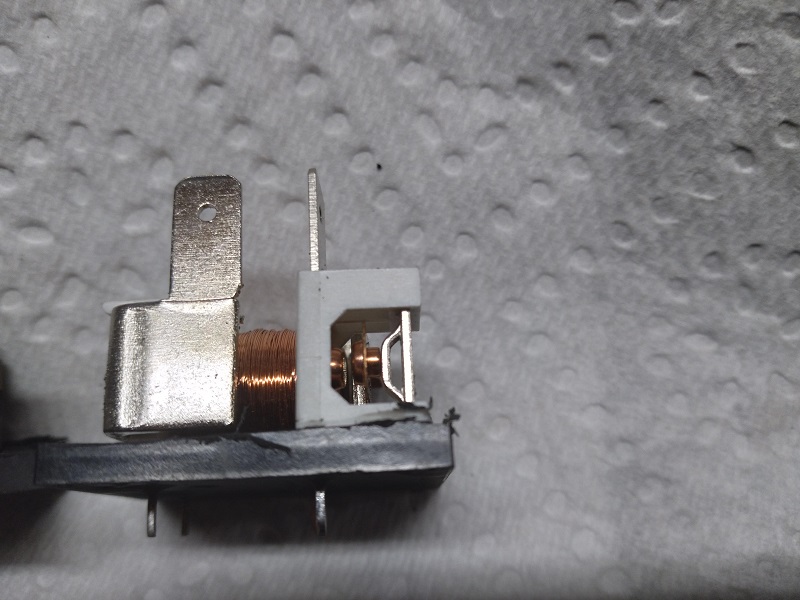
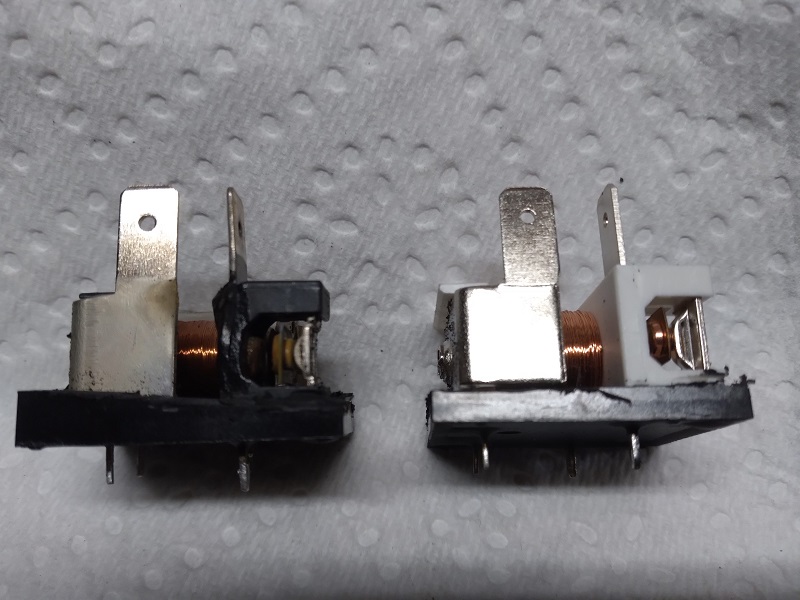
My problem was this relay. The melted plastic around the connector was a pretty clear sign of a problem. When you see this you know the component overheated. Relays transfer a lot of power and with constant use tend to fail. Once a thermostat is put into the picture they cycle even more. So the fix was to replace this relay.
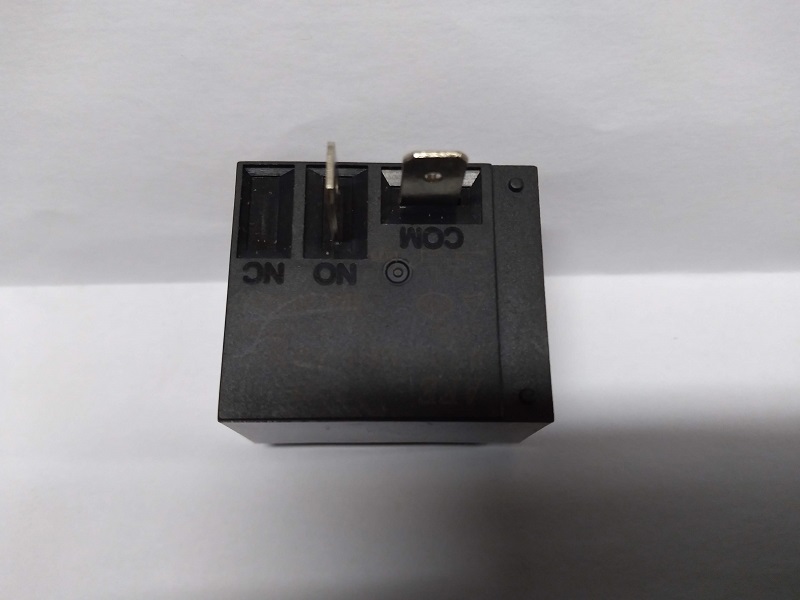
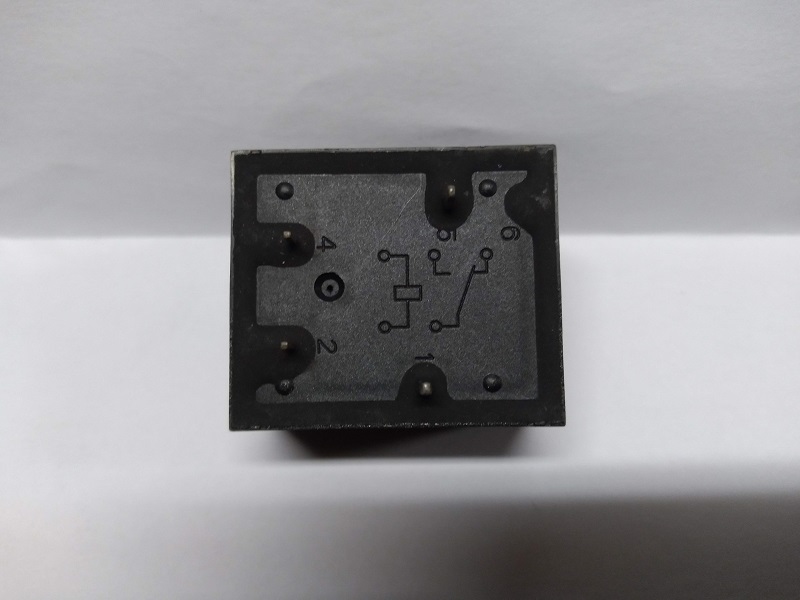
BT92-SS-112DM is the number on the relay, be sure to verify what the number is on yours. I was able to find one on Ebay and after replacing the problem was resolved. The replacement relay had this nice diagram on the bottom showing which side is the coil (pin 2 and 4). The coil is what is energized to draw the contactor in so the power is switched from contact 6 to 5. If there is a problem with the coil or the contacts the power will not switch. Mine measured 156 ohms and the replacement was 86 ohms, while not the same it does tell me that the coil is good, so it has to be a contact problem. I took it apart to show you the issue. I also took a new one apart so you can compare them.
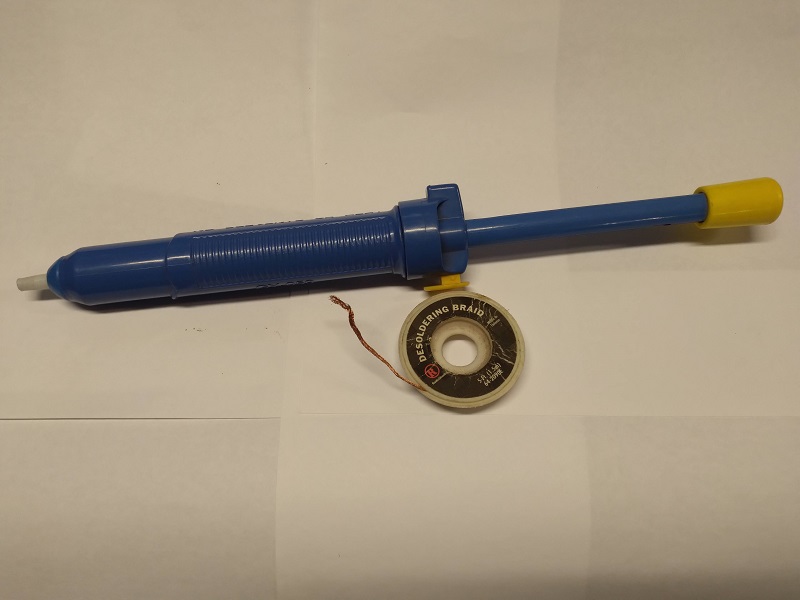
So to replace I used a soldering iron and a solder sucker. You can also use desoldering braid. If you need help learning on how to unsolder / solder, there are several videos on YouTube to help you learn. It’s relatively easy to do and will save you many times over. I have the relays for sale now on Ebay.
Hopefully this info has been helpful.

What do you think?
Show comments / Leave a comment